In the world of laptop enthusiasts and tech aficionados, the quest for optimal cooling solutions is a never-ending journey. One such innovation that has been gaining popularity is the Noctua Brown Fan Retrofit for Laptop Cooling Kits. This article delves into the intricacies of fan modding, highlighting the benefits of upgrading to the Noctua Brown Fan and providing a step-by-step guide for those looking to enhance their laptop’s cooling capabilities.
**Understanding Fan Modding**

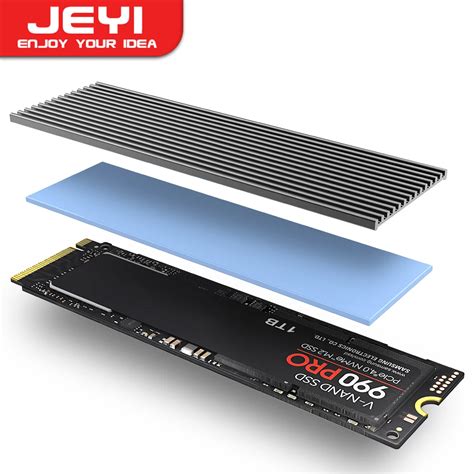
Fan modding is the process of modifying a computer’s cooling system to improve its performance. This can involve replacing the stock fans with higher-quality ones, altering the fan’s airflow, or even adding additional fans to the system. The goal is to dissipate heat more efficiently, thus extending the lifespan of the laptop’s components and improving overall performance.
**Why Choose the Noctua Brown Fan?**
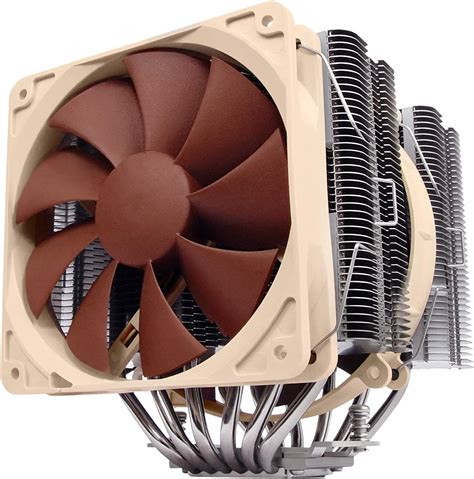
Noctua is a well-known brand in the cooling industry, renowned for its high-quality and silent fans. The Noctua Brown Fan is no exception. Here are some reasons why this fan is a popular choice for laptop cooling retrofits:
1. **Silent Operation**: The Noctua Brown Fan is designed to operate silently, ensuring that your laptop remains cool without creating a distracting noise.
2. **Efficient Cooling**: With its advanced design and high-quality materials, the Noctua Brown Fan provides excellent airflow, effectively cooling down the laptop’s components.
3. **Durability**: Made with durable materials, the Noctua Brown Fan is built to last, even under continuous use.
4. **Customization**: The fan is compatible with various laptop cooling kits, allowing users to tailor their cooling system to their specific needs.
**Step-by-Step Guide to Retrofitting the Noctua Brown Fan**
If you’re ready to upgrade your laptop’s cooling system with the Noctua Brown Fan, follow these steps:
1. **Acquire the Necessary Tools**: Before you begin, gather the necessary tools, such as a screwdriver, thermal paste, and possibly a thermal paste spreader.
2. **Remove the Stock Fan**: Carefully remove the stock fan from your laptop’s cooling system. This may involve unscrewing it from the laptop’s case and disconnecting any cables.
3. **Clean the Area**: Use compressed air or a soft cloth to clean the area where the stock fan was mounted. This ensures that the new fan will have a clean surface to work with.
4. **Apply Thermal Paste**: Apply a thin layer of thermal paste to the CPU or GPU, depending on what you’re cooling. Use the spreader to ensure even coverage.
5. **Mount the Noctua Brown Fan**: Attach the Noctua Brown Fan to the laptop’s cooling system using the provided mounting hardware. Ensure that the fan is securely mounted and that the cables are properly connected.
6. **Test the Fan**: Power on your laptop and monitor the fan’s performance. Adjust the fan’s speed settings if necessary to ensure optimal cooling without excessive noise.
7. **Secure the Fan**: Once you’re satisfied with the fan’s performance, secure it in place to prevent any movement during use.
**Conclusion**
Upgrading your laptop’s cooling system with the Noctua Brown Fan Retrofit can significantly improve its performance and longevity. By following the steps outlined in this article, you can enjoy a cooler, quieter, and more efficient laptop experience. So, why settle for stock cooling solutions when you can mod your way to better performance?