Introduction:
Accidents happen, and when it comes to your beloved laptop, a coffee spill can be a nightmare. But fear not! In this tutorial, we will guide you through the process of using ultrasonic cleaning to rescue your laptop’s motherboard from a coffee spill. Follow these steps to bring your laptop back to life.

Materials Needed:
1. Ultrasonic cleaner
2. Distilled water
3. Isopropyl alcohol (90%+)
4. Small containers or cups
5. Soft-bristled toothbrush
6. Microfiber cloth
7. Screwdriver set
8. Patience
Step 1: Power Off and Disconnect
Ensure your laptop is completely powered off and disconnected from any power source. This will prevent any electrical shock while handling the components.
Step 2: Remove the Battery and External Components
Remove the battery and any other external components, such as the hard drive or SSD, to gain access to the motherboard. Refer to your laptop’s manual for specific instructions on how to do this.
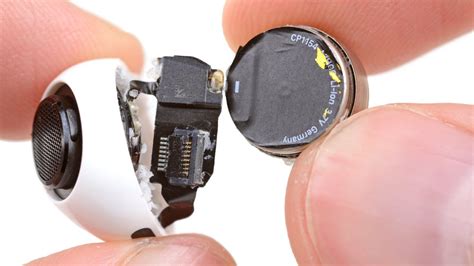
Step 3: Disassemble the Laptop
Using a screwdriver, carefully disassemble your laptop to access the motherboard. Be gentle and keep track of all the screws and components you remove. Place them in a safe and organized manner.
Step 4: Clean the Motherboard
Using a soft-bristled toothbrush, gently clean the motherboard to remove any visible coffee particles. Be careful not to apply too much pressure, as this may damage the components.
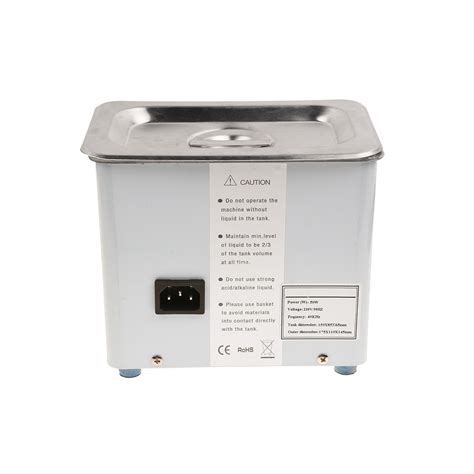
Step 5: Prepare the Ultrasonic Cleaner
Fill a small container with distilled water and add a few drops of isopropyl alcohol. This mixture will help in removing the coffee stains and any residual particles.
Step 6: Place the Motherboard in the Ultrasonic Cleaner
Submerge the motherboard in the prepared solution, ensuring it is fully covered. Turn on the ultrasonic cleaner and let it run for about 5-10 minutes. The ultrasonic waves will help dislodge any remaining coffee particles from the motherboard.
Step 7: Inspect and Clean Again if Necessary
After the cleaning cycle, remove the motherboard from the ultrasonic cleaner and inspect it. If there are still coffee stains or particles, repeat the cleaning process.
Step 8: Dry the Motherboard
Using a microfiber cloth, gently dry the motherboard to remove any excess water. Be cautious not to touch any sensitive components with the cloth.
Step 9: Reassemble the Laptop
Carefully reassemble your laptop by placing the motherboard back into its original position. Ensure all the components are correctly aligned and secure the screws.
Step 10: Test the Laptop
Reconnect the battery and power on your laptop. If everything is functioning correctly, you have successfully rescued your laptop’s motherboard from a coffee spill.
Conclusion:
An accidental coffee spill on your laptop’s motherboard can be a daunting situation. However, by following this ultrasonic cleaning tutorial, you can give your laptop a second chance. Remember to be patient and take your time during the process. With a little effort, you can save your cherished device from a potentially irreversible damage.