Introduction:
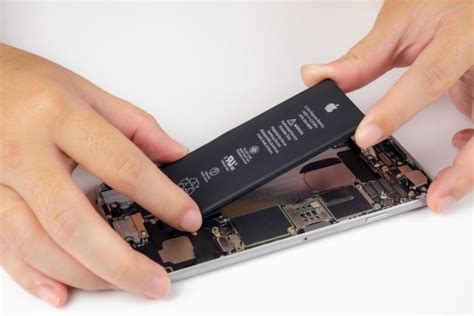
The iPhone Lightning port is a crucial component that allows users to charge, sync, and connect various accessories to their devices. However, due to regular wear and tear or accidental damage, the Lightning port can become faulty, leading to connectivity issues. This article aims to provide a detailed guide on repairing the iPhone Lightning port, focusing on connector pin mapping and short circuits.

I. Understanding the iPhone Lightning Port
The iPhone Lightning port consists of a metal housing with multiple pins responsible for transmitting data and power. These pins are connected to internal components such as the charging controller, battery, and audio interface.
II. Connector Pin Mapping
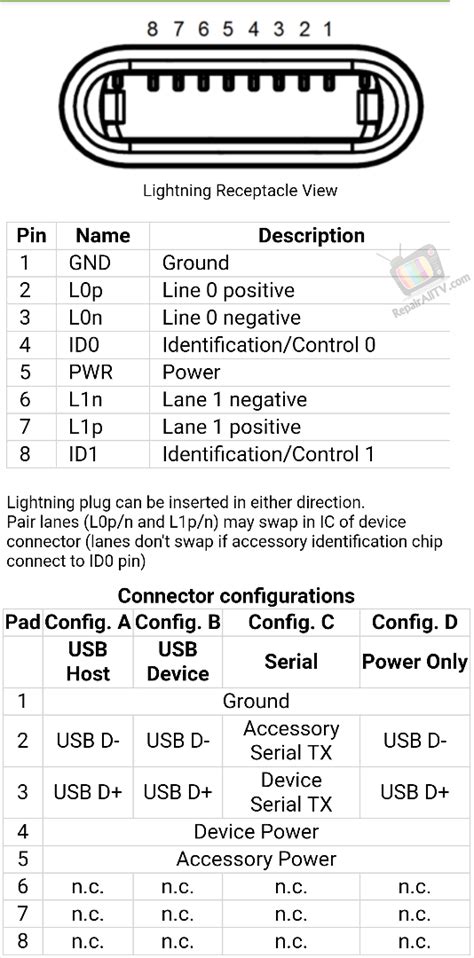
To repair the iPhone Lightning port, it’s essential to understand the pin mapping. Here’s a breakdown of the main pins and their functions:
1. Pin 1 – Power (Vbus): Responsible for providing power to the device.
2. Pin 2 – Ground (GND): Provides a reference for the Vbus voltage.
3. Pin 3 – Data (D+): Transmits data from the connected device to the iPhone.
4. Pin 4 – Data (D-): Receives data from the connected device to the iPhone.
5. Pin 5 – Ground (GND): Provides a reference for the data pins.
6. Pin 6 – Power (Vbus): Additional power pin.
7. Pin 7 – Ground (GND): Additional ground pin.
8. Pin 8 – Antenna (ANT): Provides a connection for the iPhone’s Wi-Fi and Bluetooth antennas.
9. Pin 9 – Microphone (MIC): Transmits audio signals from the iPhone to the connected device.
10. Pin 10 – Ground (GND): Additional ground pin.
11. Pin 11 – Speaker (SPK): Receives audio signals from the connected device to the iPhone.
12. Pin 12 – Ground (GND): Additional ground pin.
III. Identifying and Repairing Short Circuits
Short circuits in the iPhone Lightning port can cause various issues, such as unresponsive buttons, connectivity problems, or even damage to the device. Here’s how to identify and repair short circuits:
1. Visual inspection: Check the Lightning port for any signs of damage, such as bent or broken pins.
2. Use a multimeter: Connect the multimeter to the Lightning port and check for continuity between pins. If a short circuit is detected, proceed to the next step.
3. Remove the damaged pin: Use a soldering iron and soldering wick to remove the damaged pin.
4. Clean the area: Clean the area around the removed pin to ensure no残留物影响电路。
5. Solder a new pin: Cut a thin piece of wire and solder it to the removed pin’s position. Ensure the new pin is properly aligned with the rest of the pins.
6. Test the repair: Reconnect the device and check for connectivity and functionality.
Conclusion:
Repairing the iPhone Lightning port can be a challenging task, but understanding connector pin mapping and how to identify short circuits can make the process more manageable. Always exercise caution when working with electronics and consider seeking professional assistance if you’re unsure about the repair process.